Flashback Express 7
User Manual
Downloading and Installing
Recording a Video
Recorder Window
Recorder Settings
Recording the Mouse Cursor
Starting and Stopping Recording
Recorder Control Bar
Advanced Recording Options
Annotating While Recording
Selecting What To Record
Recording on a computer with dual GPUs
Previewing a Recording
Editing a Project
Editing Basics
Navigating the Project Editor
Working with Media
The Timeline
The Video Canvas
Styling Media
Editing Preferences
Exploring Media
Videos
Images
Animations
Shapes
Backgrounds
Text
Titles
Audio
Voiceovers
Subtitles
Blurs
Flashback Pro Movies
Applying Effects
Exporting
Freeze Frame
Licensing Flashback Express 7
Free vs Licensed Use
Purchasing a Flashback Express 7 License
Registering a Flashback Express 7 license
Upgrading From Pro 5 or Express 6
Managing Your Subscriptions
Feature Credits
Registering on an offline PC
Deploying a license to multiple PCs
License Troubleshooting
Misc.
How To Guides
Make a clip from a recording
Replace a voiceover
Record a facecam video
Schedule a recording session
Highlight the mouse cursor
Edit audio for an imported video
How To Move a Project to a New Computer
Record a clear voiceover
Flashback Express 7 Quick Start Guide
Flashback Express 7 FAQs
Flashback Express 6
User Manual
Downloading and Installing
Getting Setup to Record
The Recorder Window
Recording the Screen
Recording Windows and Regions
Recording Sound
Recording a Webcam
Recording the mouse cursor
Recording Settings
Recording
The Recorder Control Bar
Starting, Pausing and Stopping a Recording
Discarding or Restarting a Recording
Saving your recording
Scheduling a recording
Auto-trimming
Editing and Uploading
The Video Window
The Edit & Upload Window
Making a Clip
Uploading a Video
Exporting to other formats
Exporting Audio
Adding Subtitles
Licensing
Flashback Express Free vs Licenced
Purchasing a Flashback Express 6 license
Registering a Flashback Express 6 license
Registering Flashback Express 6 on an offline PC
Deploying a Flashback Express 6 license to multiple PCs
Flashback Express License 6 Troubleshooting
Feature Credits for Transcrptions
Misc.
How To Guides
How to record a facecam video
How to make a clip
How to schedule a recording session
How to capture the mouse cursor
Flashback Express 6 Quick Start Guide
Flashback Express 6 FAQs
Camigo
User Manual
Getting Started
Camigo System Requirements
Downloading and installing
Setting up Camigo
Checking for Updates
Camigo Settings
Using Camigo
Customizing your video
Licensing
Support
Camigo Quick Start Guide
Camigo FAQs
Video Converter
User Manual
Getting Setup
Video Converter System Requirements
Downloading and installing Video Converter
Preferences
Free Trial
Using Video Converter
Converting Format
Format settings
Turbo Conversion
Creating Clips
Cropping a video
Applying Effects
Adding Watermarks
Changing Speed
Inserting Subtitles
Licensing Video Converter
Video Converter Quick Start Guide
Video Converter FAQs
Table of Contents
- All Categories
- Camigo
- User Manual
- Customizing your video
- Changing the background
Changing the background

If you don't want people to see the room that you are in whilst you are part of a video call, or if you just want to add a bit of character to your webcam video, you can replace the video background by going to the Background tab on the left of the Camigo window.
Choose a new background
Camigo includes a number of home and office background images that you can choose from by simply clicking on the thumbnail in the Background tab.
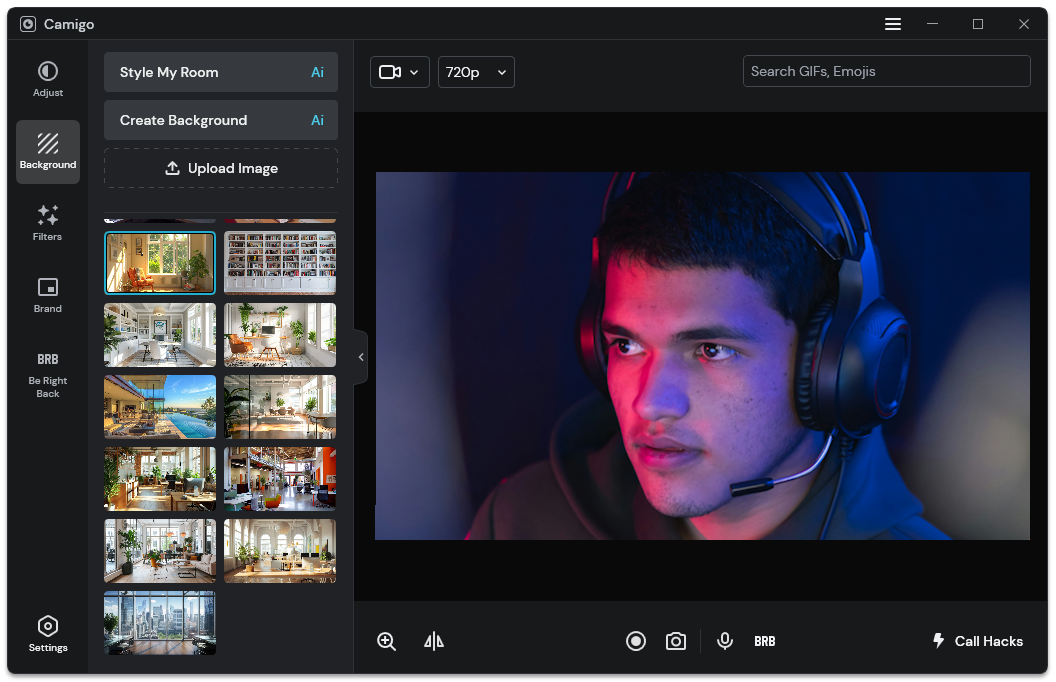
Select the  thumbnail to revert to your actual background. This will always be the top left thumbnail on the Background tab.
If none of the stock images are suitable, you can also import you own images by clicking the Upload Image button. Any images that you import, will be added to the Backgrounds tab for future selection.
You can also delete unwanted images from the Background tab by hovering your mouse cursor over the thumbnail and then clicking the X button that appears in the top corner of the thumbnail.
Blurring the background
Instead of completely replacing the background of your webcam video, you can simply just blur it instead by selecting the Blur thumbnail.
The blur thumbnail will always be the top right thumbnail on the Background tab.
Create Background
If you want to replace your webcam background but don't have a suitable image or you would like something a bit more creative than a simple office, click the Create Background button to use AI tools to creaie a custom background using a number of preset themes and locations.
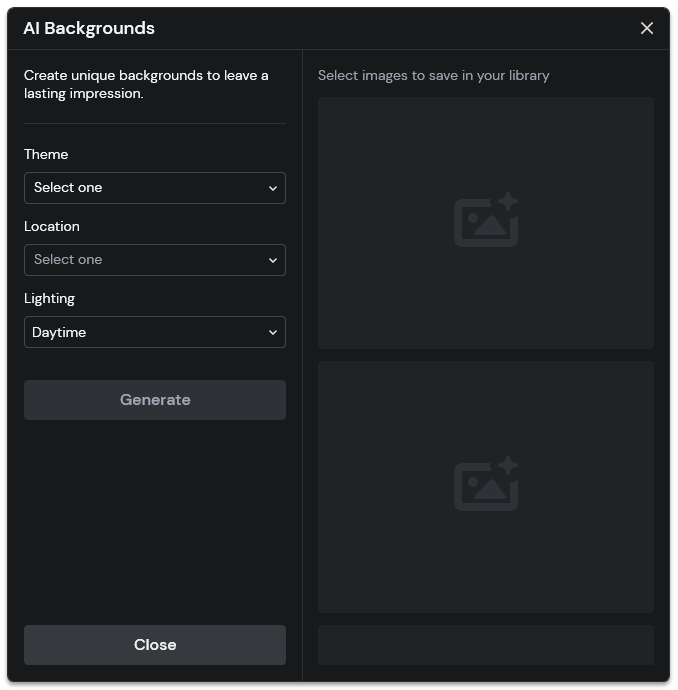
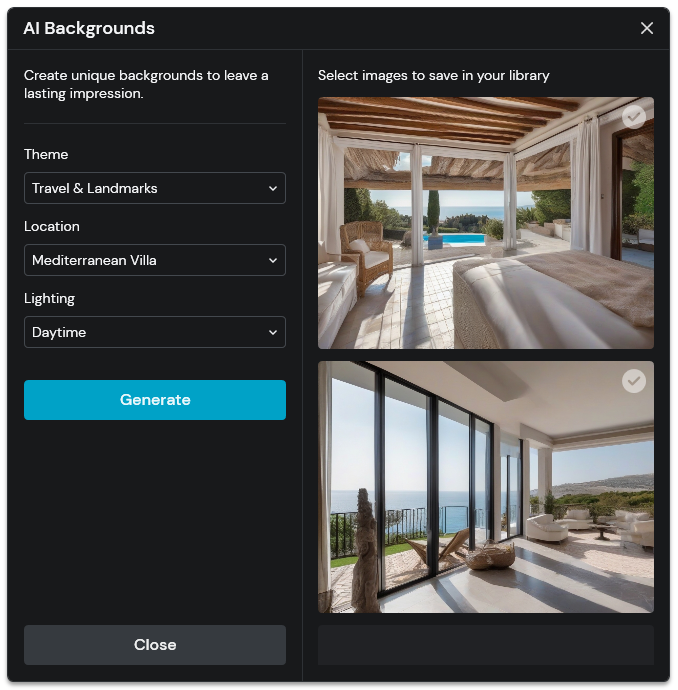
On the AI backgrounds window, you will first need to select a Theme, which will determine the general look and style of the background. Depending on which theme is selected, you will then be able to select a more specific Location. The types of location vary from a Mountain Retreat to Haunted Mansion. Finally, setting the Lighting of the background will let you choose whether it is set during the daytime or nightime.
When you have finished choosing each of the above, click the Generate button and, after a short wait, 2 possible backgrounds will be displayed. Click on any that you want to keep (a blue tick will appear in the top right corner to indicate when an image has been selected) and then click the Save and Exit button to return to the Background tab with any selected images added to the tab for selection.
Style My Room
Another alternative to completely replacing yoru background is to use AI tools to create a new background that is either based on the room you are in or on an image that you import.
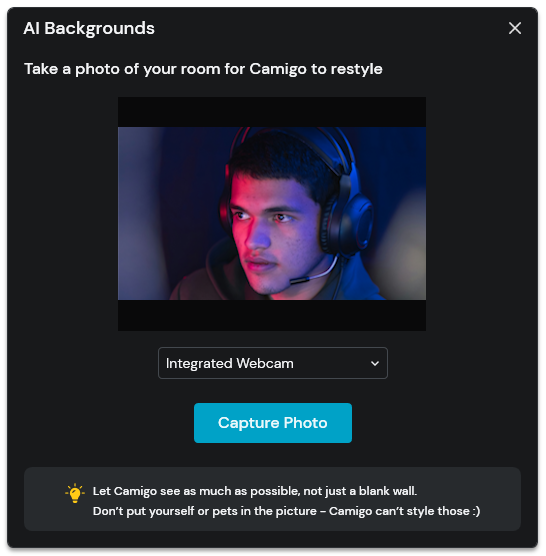
Click the Style My Room button to get started and then click either Upload to import an image that you have saved on your computer or Take photo to use your webcam to take a photo of the room you are in.
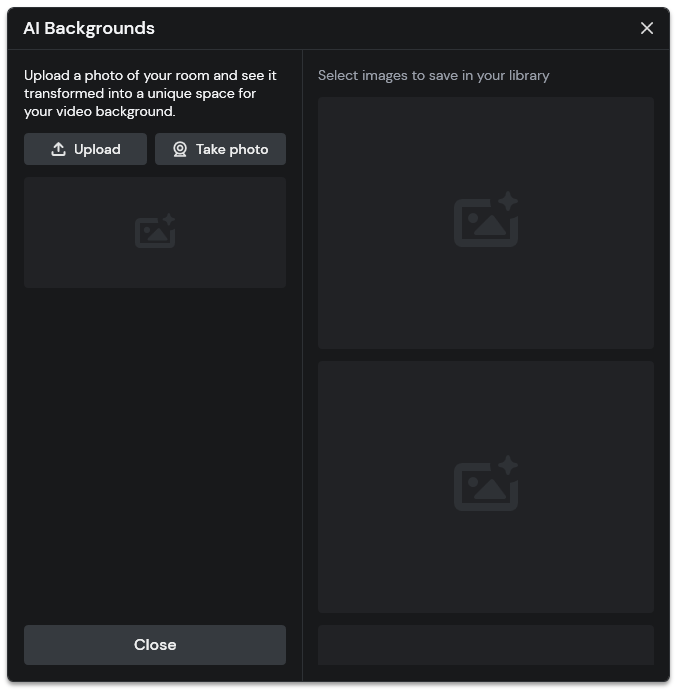
When taking a photo, you will be given the choice of which webcam to use to take the photo and then, when you click the Capture Photo button, a 3 second countdown will begin to give you chance to step away from your webcam so that the whole background is visible in your photo.
Once you have a suitable image or photo, choose the Style of how you would like the new image to appear. For example, you could simply use the existing background by make it tidier if there is a lot of mess, or you can completely upgrade it a fantasy or sci-fi setting. Setting the Strength option will determine how much the original background will be changed to achieve your selected style.
When you have chosen a style, click the Generate button and, after a short wait, 2 possible backgrounds will be displayed. Click on any that you want to keep (a blue tick will appear in the top right corner to indicate when an image has been selected) and then click the Save and Exit button to return to the Background tab with any selected images added to the tab for selection.