Flashback Express 7
User Manual
Downloading and Installing
Recording a Video
Recorder Window
Recorder Settings
Selecting What To Record
Recording the Mouse Cursor
Starting and Stopping Recording
Recorder Control Bar
Advanced Recording Options
Annotating While Recording
Recording on a computer with dual GPUs
Previewing a Recording
Editing a Project
Editing Basics
Navigating the Project Editor
Working with Media
The Timeline
The Video Canvas
Styling Media
Editing Preferences
Exploring Media
Videos
Images
Animations
Shapes
Backgrounds
Text
Titles
Audio
Voiceovers
Subtitles
Blurs
Flashback Pro Movies
Applying Effects
Exporting
Freeze Frame
Licensing Flashback Express 7
Free vs Licensed Use
Purchasing a Flashback Express 7 License
Registering a Flashback Express 7 license
Upgrading From Pro 5 or Express 6
Managing Your Subscriptions
Feature Credits
Registering on an offline PC
Deploying a license to multiple PCs
License Troubleshooting
Misc.
How To Guides
Make a clip from a recording
Replace a voiceover
Record a facecam video
Schedule a recording session
Highlight the mouse cursor
Edit audio for an imported video
How To Move a Project to a New Computer
Record a clear voiceover
Flashback Express 7 Quick Start Guide
Flashback Express 7 FAQs
Flashback Express 6
User Manual
Downloading and Installing
Getting Setup to Record
The Recorder Window
Recording the Screen
Recording Windows and Regions
Recording Sound
Recording a Webcam
Recording the mouse cursor
Recording Settings
Recording
The Recorder Control Bar
Starting, Pausing and Stopping a Recording
Discarding or Restarting a Recording
Saving your recording
Scheduling a recording
Auto-trimming
Editing and Uploading
The Video Window
The Edit & Upload Window
Making a Clip
Uploading a Video
Exporting to other formats
Exporting Audio
Adding Subtitles
Licensing
Flashback Express Free vs Licenced
Purchasing a Flashback Express 6 license
Registering a Flashback Express 6 license
Registering Flashback Express 6 on an offline PC
Deploying a Flashback Express 6 license to multiple PCs
Flashback Express License 6 Troubleshooting
Feature Credits for Transcrptions
Misc.
How To Guides
How to record a facecam video
How to make a clip
How to schedule a recording session
How to capture the mouse cursor
Flashback Express 6 Quick Start Guide
Flashback Express 6 FAQs
Camigo
User Manual
Getting Started
Camigo System Requirements
Downloading and installing
Setting up Camigo
Checking for Updates
Camigo Settings
Using Camigo
Customizing your video
Licensing
Support
Camigo Quick Start Guide
Camigo FAQs
Video Converter
User Manual
Getting Setup
Video Converter System Requirements
Downloading and installing Video Converter
Preferences
Free Trial
Using Video Converter
Converting Format
Format settings
Turbo Conversion
Creating Clips
Cropping a video
Applying Effects
Adding Watermarks
Changing Speed
Inserting Subtitles
Licensing Video Converter
Video Converter Quick Start Guide
Video Converter FAQs
- All Categories
- Video Converter
- Video Converter Quick Start Guide
Video Converter Quick Start Guide
Updated
by Gareth Casey
Downloading and Installing
- Download Flashback Video Converter from our download page.
- When Flashback Video Converter has finished downloading, double click the downloaded file to install.
- Click Yes when the User Account Control popup appears.
- To install to the default location, click the Install button on the window that appears.

To choose a new location to install to, click Options in the bottom right corner of the window and then click the Change button next to where the installation folder is displayed. Then choose a new folder to install to.
Begin your trial
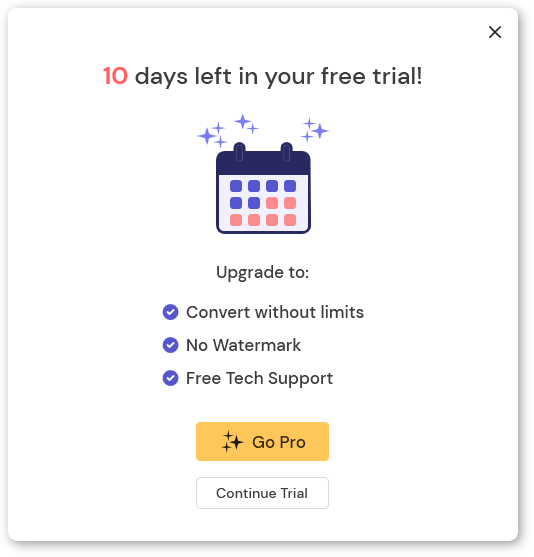
- When you launch Flashback Video Converter for the first time, a 10 day trial popup will appear. If you want to purchase a license, click the Go Pro button. Otherwise, click the Continue Trial button continue with your trial.

- If you already have a license, select Continue Trial, then click the Preferences button at the top of the Converter window and go the License tab to enter your license key.
Adding Files
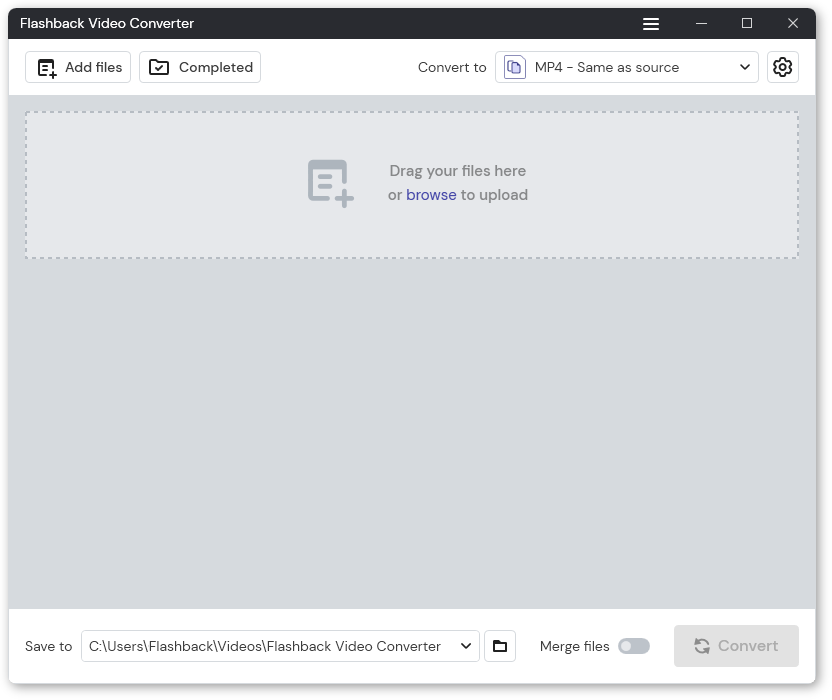
- When Flashback Video Converter has started, the Converter Window will appear. The first time you start Flashback Video Converter, the window will be empty.

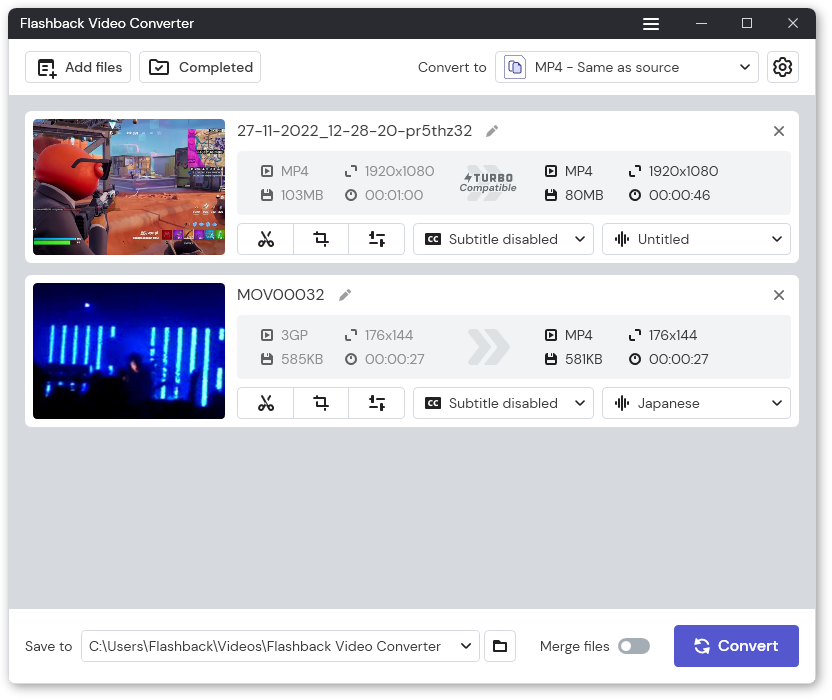
Click Add Files to add video files to the list of videos to be converted. Or simply drag and drop the files into the Converter Window.
- Click the
 button to cut the video into clips or the
  button to crop the image, apply effects, change the video speed or insert subtitles.
Choosing a Conversion Format
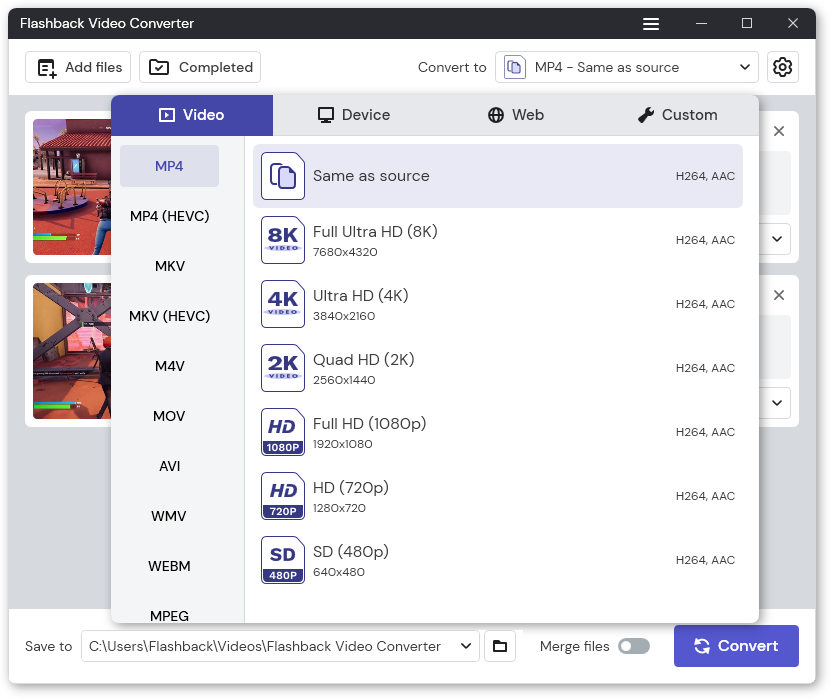
- Click the Convert to dropdown menu to open the format menu.
- Click a format to select what type of video file will be created.

- Select Same as source to produce a video that is identical to the original, or one of resolution presets to change the resolution to something different to the original.
- Click the
 button to make changes to things like the frame frame rate, bitrate and which encoder is used.
Converting
- Choose a location to save your converted videos. Change from the default location of \Videos\Flashback Video Converter\ by clicking the
 button.
 - Click the Convert button to start covnerting all videos in the current video list.
