Table of Contents
Selecting What To Record

Recording Your Screen
To record your screen, you must have one of the the screen recordings options enabled in the record menu. You can then choose to either record the fullscreen, just a region of the screen or a specific window that is shown on your screen.
If the Camera only option is selected in the record menu, your screen will not be recorded.
Recording the full screen
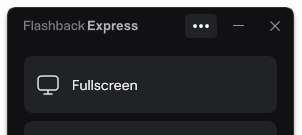
To record the whole screen you need to have Fullscreen selected in the record menu.
If you have have multiple screens connected, when you hover over Fullscreen, another menu will appear with the available combinations of screens that you can choose from. Click the combination you want to record.
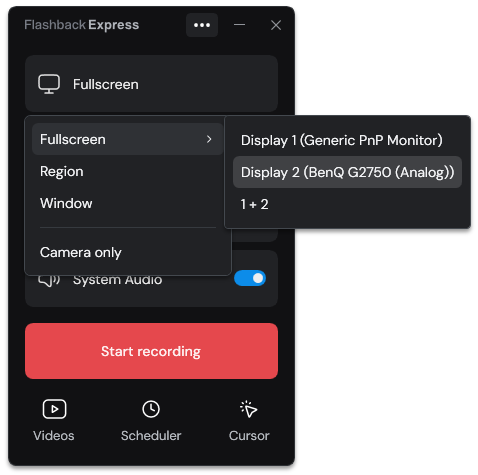
When Fullscreen is selected, the red frame will appear around the edge of the screen(s) to indicate what will be recorded.
Click Start Recording to start recording from the selected screen(s).
Recording a region
To record just a certain region of your screen, you need to have Region selected in the record menu.
When Region is selected, the mouse cursor will change to the region selection cursor. Click and drag to mark the region you want to record.
As you drag, a dashed frame will appear to indicate the region that is being selected. In the top left corner of the frame, the region control bar displays the current height and width of the frame.
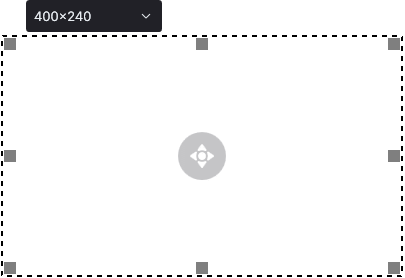
Move the frame by clicking and dragging the handle in the centre of the frame.
Resize the frame by clicking the resize boxes in the corners and along the edges of the frame. While dragging to resize the frame, a magnifying glass will appear to help you accurately drag the frame into position.
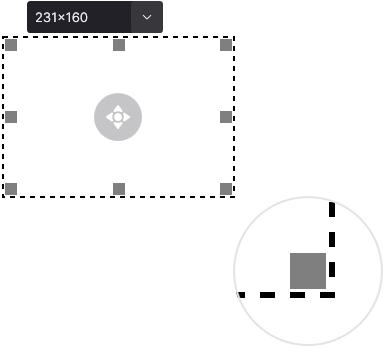
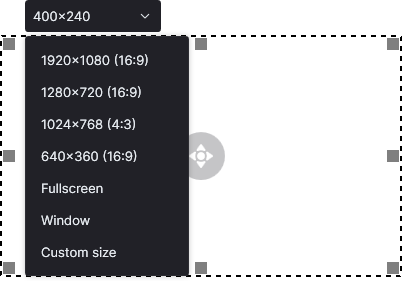
Or set the frame to a pre-defined size by clicking the arrow on the region control bar and selecting from the options that appear. For convenience, you can also switch to fullscreen or wIndow recording from here as well
If you are struggling to accurately resize the region frame around something that is not a Window (such as a video embedded in a webpage), open the Settings, go to the General tab and enable the Snap recording frame to edges which will allow the region frame to look for and snap to edges that are not necessarily on the outside of a window.
When you have selected what you want to record, click Start Recording to start recording the selected region.
Recording a window
You can set also set a region to match any window on your screen by selecting the Window option in the record menu.
As you move the mouse cursor around the screen, it will highlight windows that can be selected. When the window that you want to recorded is highlighted in red, click the left mouse button.
A dashed frame will appear around the border of the selected window. The region is not fixed to the window so you can resize and move the frame just like if you had used the Resize option. If you move the selected window, the frame will not move with it.
Click Start Recording to start recording from the selected window.
Recording the mouse cursor
By default, the mosue cursor will be recorded as part of your screen recordings. However, it is also possible to either disable mouse cursor recording so that it does not appear in the saved recording or add a highlight around the mouse cursor to make it more visible. See Recording the mouse cursor for more details.
Recording a Webcam
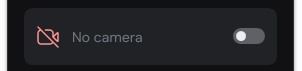
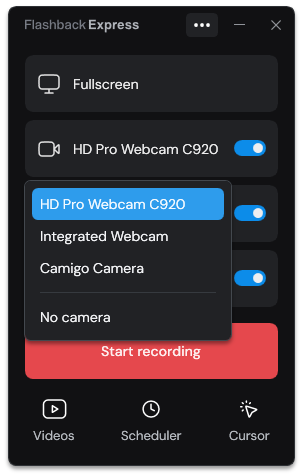
Click the No camera option on the Recorder window and then select the webcam that you want to use to capture video from in the webcam menu.
You can change which webcam is captured from by clicking on the name of the currently selected webcam to open the webcam menu again.
If one of Fullscreen, Region or Window is also selected, the webcam video will appear in front of the image of the screen. If the record option is set to Camera only, only the webcam will be recorded.
Sizing and positioning the webcam
When the Webcam option is enabled, the webcam preview window will appear to show where it will appear in your saved recording.
Reposition the webcam preview by clicking and dragging it or resize the webcam preview by clicking and dragging the corners of the preview .
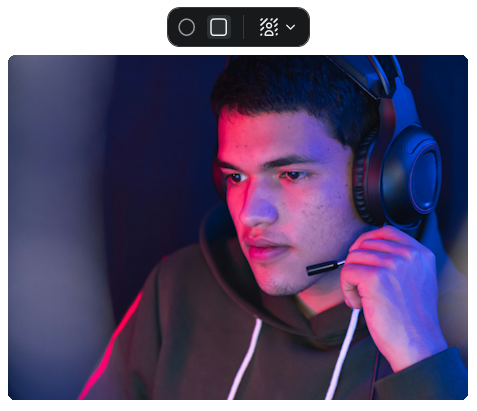
You can toggle between a circular webcam video and a rectangular webcam video by clicking the  and
and  buttons on the webcam toolbar.
Clicking the button on the webcam toolbar opens the background options for setting a custom background to be applied to the webcam image:
- When No effect is selected, the standard webcam video will be used.
- Select the Blur option to apply a blur to anything that appears behind you.
- Select the Remove option to completely remove the background.
- Click the Add an image button to import an image file from your computer and then select the image to use it to replace the background in your webcam video. Remove imported images by clicking the
Additional webcam settings
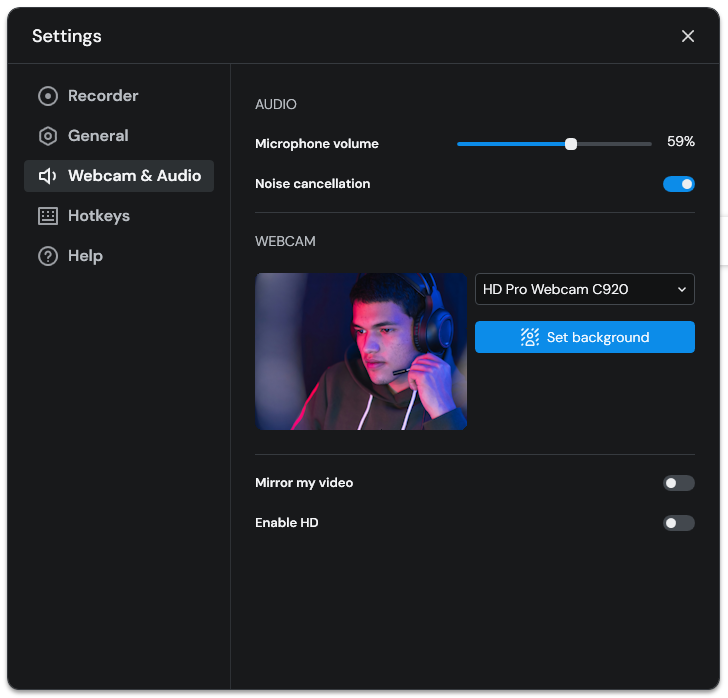
Open the Setting to access advanced webcam settings on the Webcam & Audio tab of the Settings Window.
To flip the webcam video so that it faces in the opposite direction, enable the Mirror my video option.
If the webcam image is set to the the small or medium size, SD quality is normally sufficient so will be used to maximise performance. However, if you are only recording from the webcam, HD quality can be used instead by enabling the Enable HD option.
Recording Sound
While recording your screen, Flashback Express 7 can also record what you say via a microphone attached to your PC and/or the sounds that you hear from your speakers, headphones,etc.
Recording Computer Audio
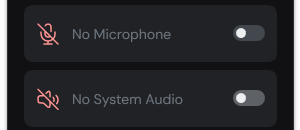
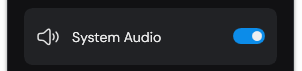
Enable the No System audio option on the Recorder window to capture the sounds that you hear.
When enabled The sound will be captured from the currently selected Output device in your Windows Sound settings.
The Master Volume setting in the Windows Sound settings will be used to set the volume of the computer audio in the saved recording.
Recording a Microphone
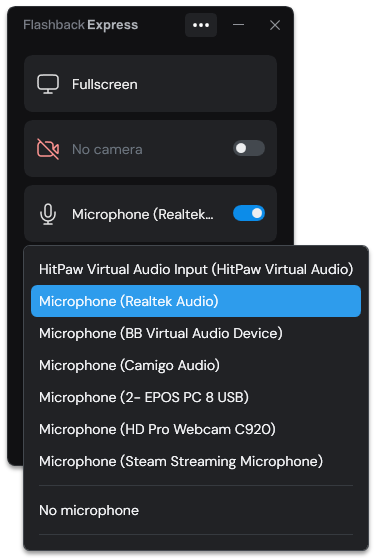
Enable the Microphone option on the Recorder window to capture what you are saying while recording.

Click the arrow next to the Microphone option to see a list of possible microphone sources to capture from. Click the one you want to use.
To change the volume of the selected microphone, open the Settings, scroll down on the Webcam & Audio tab and adjust the Microphone volume slider.
If the selected microphone is picking up noise when recording, open the Settings and enable the Noise cancellation option on the Webcam & Audio tab to activate noise reduction while recording.
See Recorder Settings for more details of the advanced microphone options.