Flashback Express 7
User Manual
Downloading and Installing
Recording a Video
Recorder Window
Recorder Settings
Recording the Mouse Cursor
Starting and Stopping Recording
Recorder Control Bar
Advanced Recording Options
Annotating While Recording
Selecting What To Record
Recording on a computer with dual GPUs
Previewing a Recording
Editing a Project
Editing Basics
Navigating the Project Editor
Working with Media
The Timeline
The Video Canvas
Styling Media
Editing Preferences
Exploring Media
Videos
Images
Animations
Shapes
Backgrounds
Text
Titles
Audio
Voiceovers
Subtitles
Blurs
Flashback Pro Movies
Applying Effects
Exporting
Freeze Frame
Licensing Flashback Express 7
Free vs Licensed Use
Purchasing a Flashback Express 7 License
Registering a Flashback Express 7 license
Upgrading From Pro 5 or Express 6
Managing Your Subscriptions
Feature Credits
Registering on an offline PC
Deploying a license to multiple PCs
License Troubleshooting
Misc.
How To Guides
Make a clip from a recording
Replace a voiceover
Record a facecam video
Schedule a recording session
Highlight the mouse cursor
Edit audio for an imported video
How To Move a Project to a New Computer
Record a clear voiceover
Flashback Express 7 Quick Start Guide
Flashback Express 7 FAQs
Flashback Express 6
User Manual
Downloading and Installing
Getting Setup to Record
The Recorder Window
Recording the Screen
Recording Windows and Regions
Recording Sound
Recording a Webcam
Recording the mouse cursor
Recording Settings
Recording
The Recorder Control Bar
Starting, Pausing and Stopping a Recording
Discarding or Restarting a Recording
Saving your recording
Scheduling a recording
Auto-trimming
Editing and Uploading
The Video Window
The Edit & Upload Window
Making a Clip
Uploading a Video
Exporting to other formats
Exporting Audio
Adding Subtitles
Licensing
Flashback Express Free vs Licenced
Purchasing a Flashback Express 6 license
Registering a Flashback Express 6 license
Registering Flashback Express 6 on an offline PC
Deploying a Flashback Express 6 license to multiple PCs
Flashback Express License 6 Troubleshooting
Feature Credits for Transcrptions
Misc.
How To Guides
How to record a facecam video
How to make a clip
How to schedule a recording session
How to capture the mouse cursor
Flashback Express 6 Quick Start Guide
Flashback Express 6 FAQs
Camigo
User Manual
Getting Started
Camigo System Requirements
Downloading and installing
Setting up Camigo
Checking for Updates
Camigo Settings
Using Camigo
Customizing your video
Licensing
Support
Camigo Quick Start Guide
Camigo FAQs
Video Converter
User Manual
Getting Setup
Video Converter System Requirements
Downloading and installing Video Converter
Preferences
Free Trial
Using Video Converter
Converting Format
Format settings
Turbo Conversion
Creating Clips
Cropping a video
Applying Effects
Adding Watermarks
Changing Speed
Inserting Subtitles
Licensing Video Converter
Video Converter Quick Start Guide
Video Converter FAQs
Table of Contents
- All Categories
- Flashback Express 7
- User Manual
- Recording a Video
- Recorder Settings
Recorder Settings

The Recorder's settings can be opened by opening the option menu on the Recorder window and then selecting Settings.
Recording
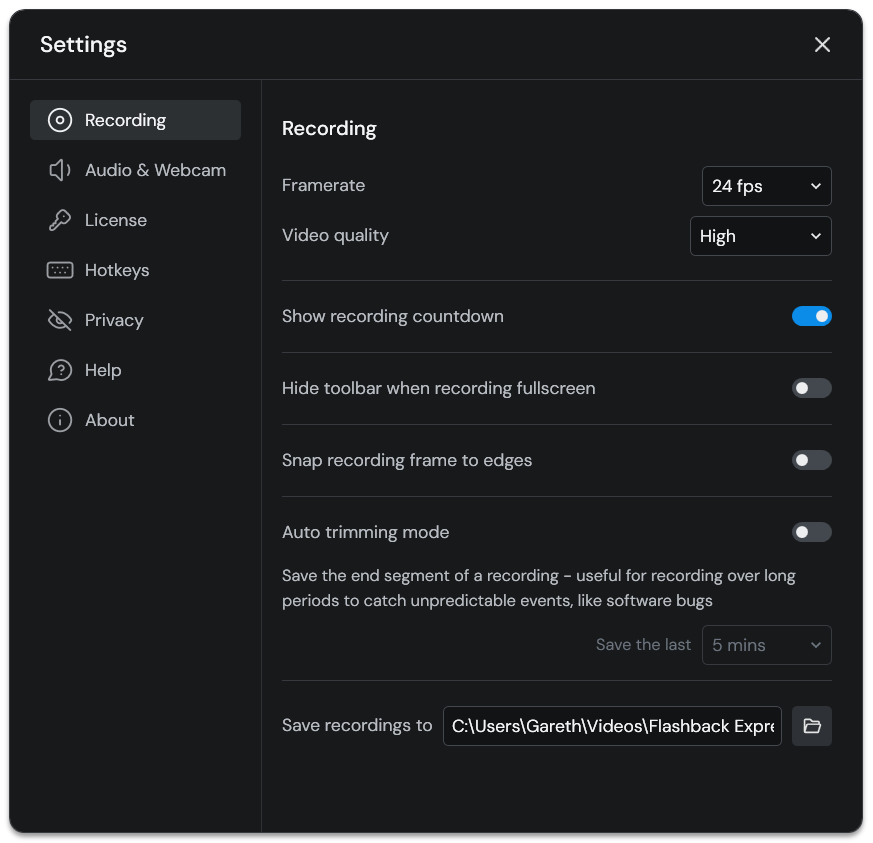
Framerate - This will set the number of frames per second that Flashback Express 7 records at. The higher the frame rate, the smoother the recording will look but the larger the saved file will be and the harder the recording PC will need to work.
24 fps is the default frame rate but it can be increased up to a maximum frame rate of 60 fps or reduced to a minimum of 6 fps.
Video Quality - Set the quality of the saved video. As quality is increased, the video image will look better but larger files sizes will be produced as a result. On some computers it may also have a negative impact on performance if they are not powerful enough to handle the work that Flashback Express 7 is having to do.
Showing recording countdown - When enabled, a 3,2,1 countdown will appear at the start of each recording session before recording begins. If disabled, recording will immediately begin when the Start Recording button or hotkey are pressed(Enabled by default)
Hide toolbar when recording fullscreen - Normally the control bar will appear on the left side of the screen when making fullscreen recordings. When enabled, this will minimse the control bar to the system tray instead so that it does not appear in the recorded video. (Disabled by default)
Snap recording frame to edges - When enabled, the region selection frame will subtly snap to the edges of windows on your desktop to make it easier to accurately position the frame. (Disabled by default)
Auto trimming mode - When enabled, Flashback Express 7 will only keep the most recently recorded minutes and will discard anything before that. Select how far back is kept in your saved recording using the Save the last option to choose between 1 minute and 25 minutes. (Disabled by default)
Save recordings to - Choose where new videos are saved to. Click the Browse button to select a new location (\Video\Flashback Express 7\Recordings\ is the default location)
Webcam & Audio
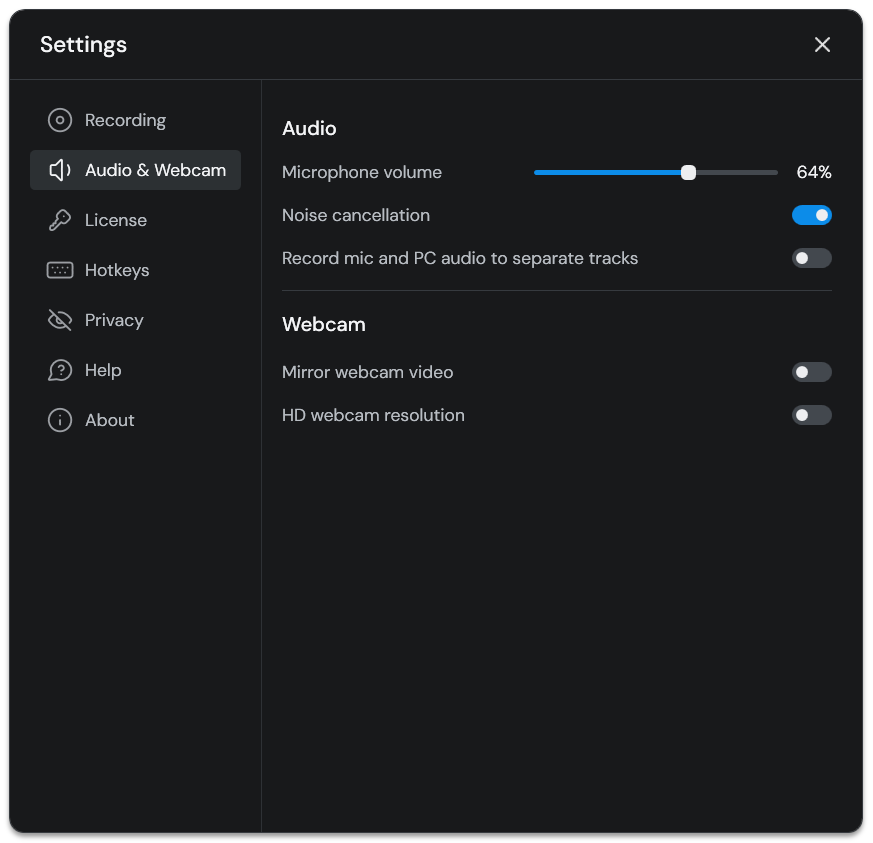
Audio
Microphone volume - Adjusting the slider will increase / decrease the volume that the selected microphone is recorded at when the Microphone option is enabled. The volume slider can only be adjusted when the Computer Audio option has been enabled.
Noise cancellation - When enabled, Flashback Express 7 will try to remove any unwanted noise that it picks up while recording from your microphone. The sort of noise it may remove is constant sounds such as hums, hisses and buzzes that are produced by the your computer and your surroundings.
Record mic and PC audio to separate tracks - When enabled, Flashback Express 7 will save the PC's system audio and microphone audio into separate tracks for easier editing afterwards - the system audio will be attached to the screen recording track and the microphone audio will be attached to the webcam track.
Webcam
Mirror my video - Sometimes your webcam video may look better if the image is mirrored, particularly if your webcam is not directly in front of you. Enable this option to horizontally mirror the webcam image that appears in the preview windows and saved video.
HD webcam resolution - If the webcam image is set to a small or medium size, SD quality is normally sufficient so will be used to maximise performance. However, if you prefer to use HD quality, enable this option to increase the webcam image quality.
License
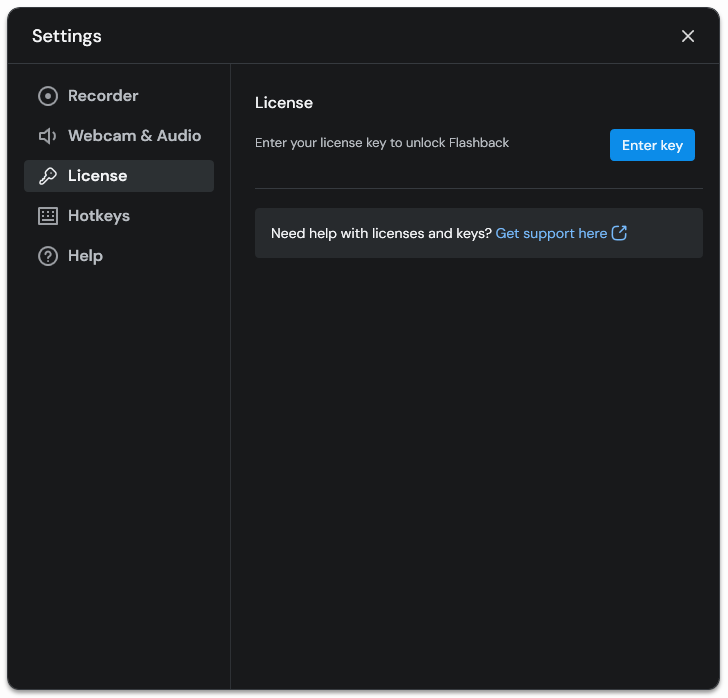
Enter key - Click to enter a license key to upgrade Flashback Express 7 from the free version or to change which licence you have registered. See Registering a license for more details on entering a license key.
Hotkeys
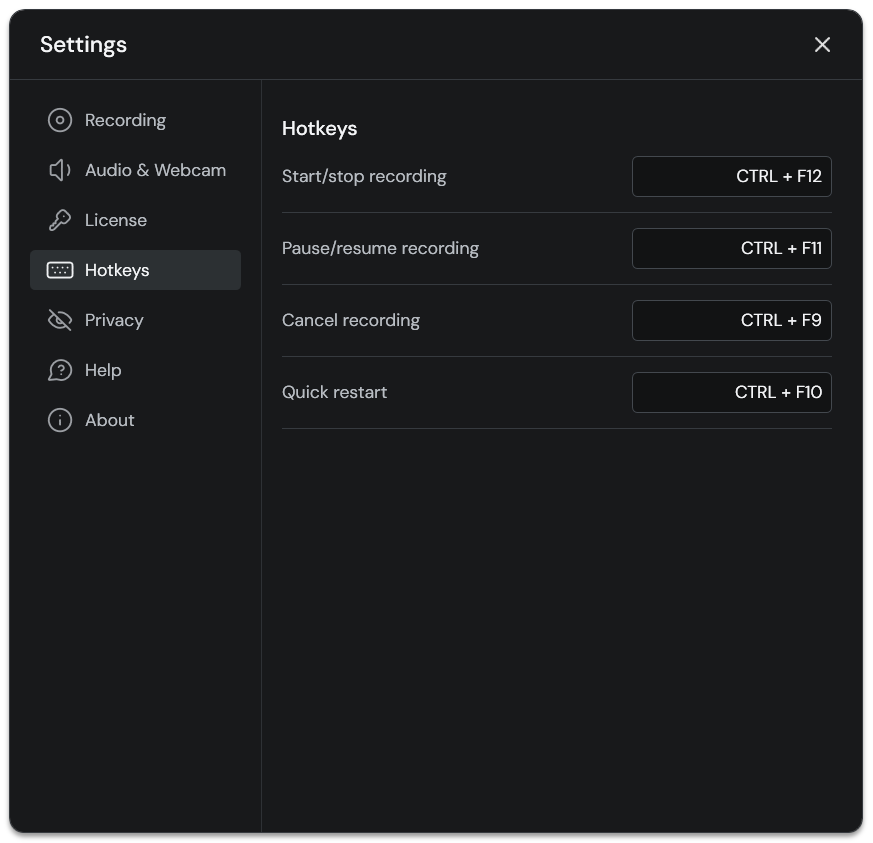
Start / Stop recording - Press to start a recording session or to end an in-progress recording session. Default hotkey is Ctrl + F12.
Pause / Resume recording - Press to pause an in-progress recording session or resume a paused recording session. Default hotkey is Ctrl + F11.
Cancel recording - Press to discard an in-progress recording session and return to the Recorder Window. Default hotkey is Ctrl + F9
Quick restart - Press to discard an in-progress recording session and immediately start again with the same settings. Default hotkey is Ctrl + F10.
Privacy
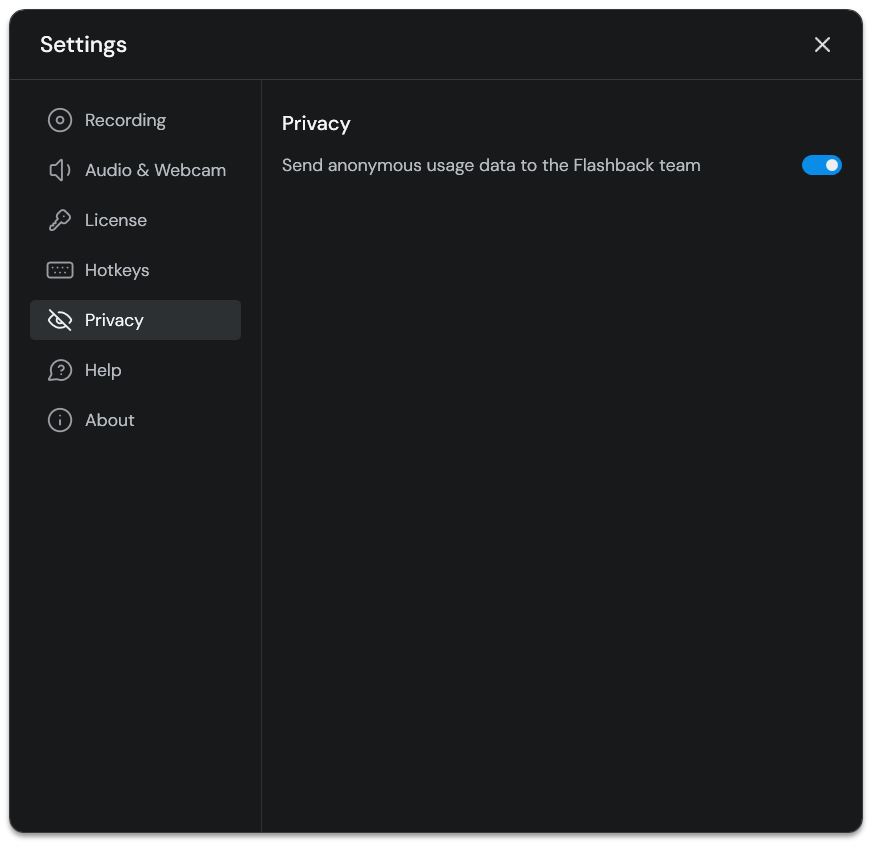
Send anonymous usage data to the Flashback team - By default, Flashback Express 7 will send anonymous usage data to Blueberry Software so we can analyse which features are most popular and which ones need to be developed further. Disable to stop all osage data from being sent.
Help
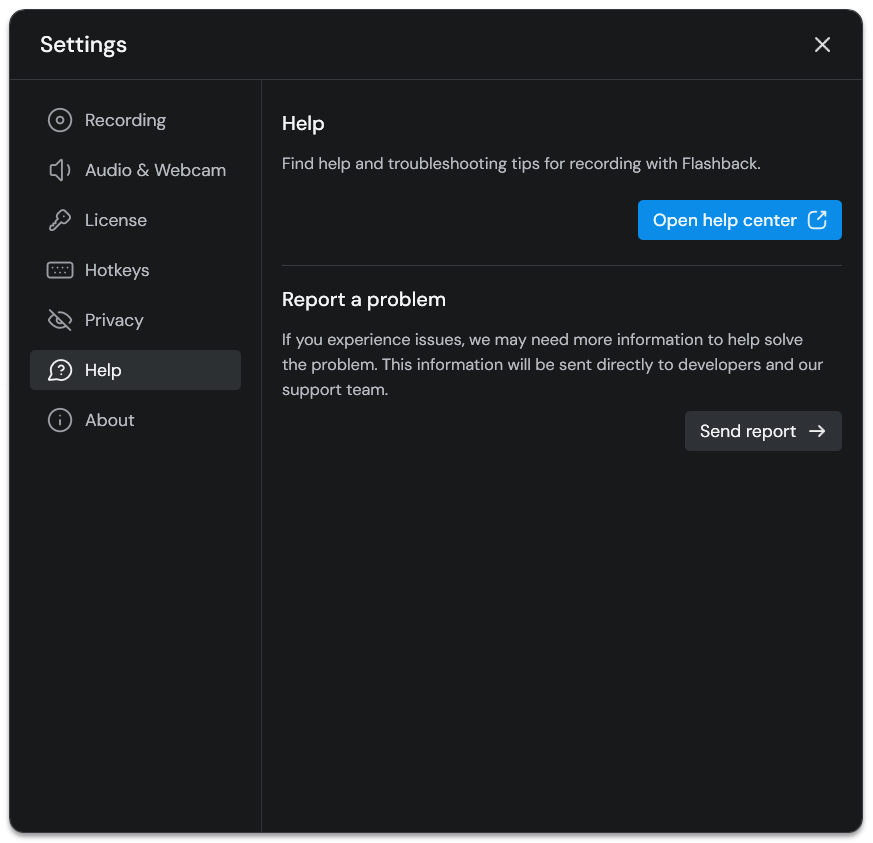
Open Help Center - Click to open the Flashback FAQs webpage in your default browser.
Send report - Click to send us your logs files if you are having technical problems or they are requested by our Support team.
About
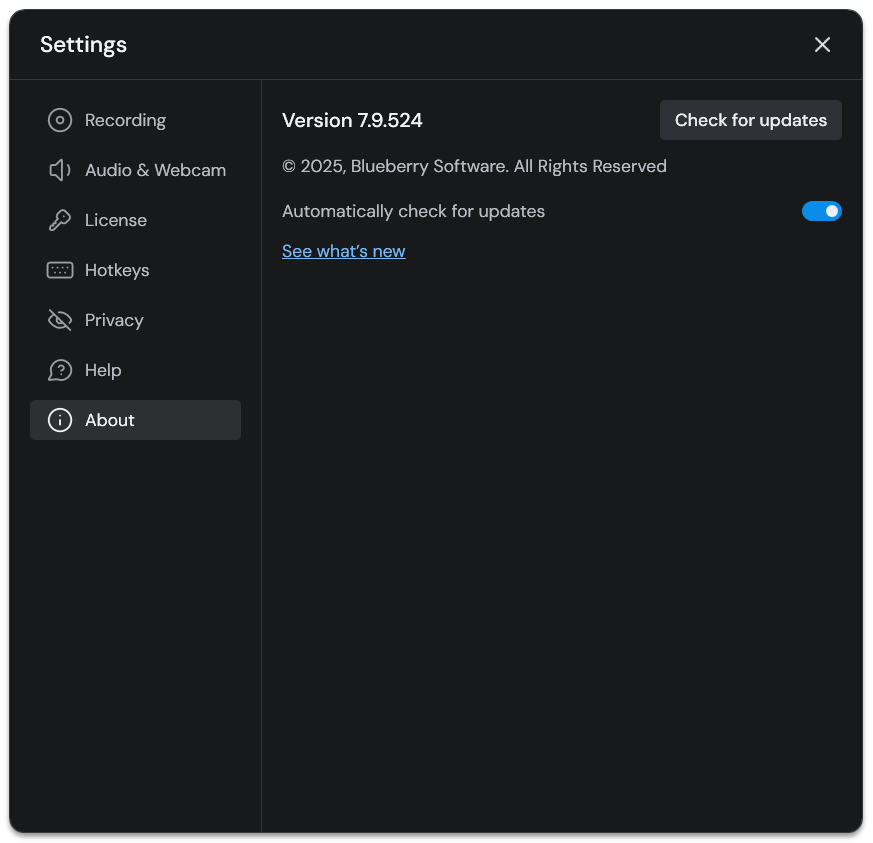
Check for updates - Click to check if there is a newer version of Flashback Express 7 that can be downloaded and installed.
Automatically check for updates - When enabled, Flashback Express 7 will check for new updates each time it is started. If an update is found, it will be downloaded in the background and you will then be prompted to install it. (Enabled by default)
See what's new - Click to open the Flashback Express 7 Change History webpage in your default browser to see what is new in each version.