Flashback Express 7
User Manual
Downloading and Installing
Recording a Video
Recorder Window
Recorder Settings
Selecting What To Record
Recording the Mouse Cursor
Starting and Stopping Recording
Recorder Control Bar
Advanced Recording Options
Annotating While Recording
Recording on a computer with dual GPUs
Previewing a Recording
Editing a Project
Editing Basics
Navigating the Project Editor
Working with Media
The Timeline
The Video Canvas
Styling Media
Editing Preferences
Exploring Media
Videos
Images
Animations
Shapes
Backgrounds
Text
Titles
Audio
Voiceovers
Subtitles
Blurs
Flashback Pro Movies
Applying Effects
Exporting
Licensing Flashback Express 7
Free vs Licensed Use
Purchasing a Flashback Express 7 License
Registering a Flashback Express 7 license
Upgrading From Pro 5 or Express 6
Managing Your Subscriptions
Feature Credits
Registering on an offline PC
Deploying a license to multiple PCs
License Troubleshooting
Misc.
How To Guides
Make a clip from a recording
Replace a voiceover
Record a facecam video
Schedule a recording session
Highlight the mouse cursor
Edit audio for an imported video
How To Move a Project to a New Computer
Record a clear voiceover
Flashback Express 7 Quick Start Guide
Flashback Express 7 FAQs
Flashback Express 6
User Manual
Downloading and Installing
Getting Setup to Record
The Recorder Window
Recording the Screen
Recording Windows and Regions
Recording Sound
Recording a Webcam
Recording the mouse cursor
Recording Settings
Recording
The Recorder Control Bar
Starting, Pausing and Stopping a Recording
Discarding or Restarting a Recording
Saving your recording
Scheduling a recording
Auto-trimming
Editing and Uploading
The Video Window
The Edit & Upload Window
Making a Clip
Uploading a Video
Exporting to other formats
Exporting Audio
Adding Subtitles
Licensing
Flashback Express Free vs Licenced
Purchasing a Flashback Express 6 license
Registering a Flashback Express 6 license
Registering Flashback Express 6 on an offline PC
Deploying a Flashback Express 6 license to multiple PCs
Flashback Express License 6 Troubleshooting
Feature Credits for Transcrptions
Misc.
How To Guides
How to record a facecam video
How to make a clip
How to schedule a recording session
How to capture the mouse cursor
Flashback Express 6 Quick Start Guide
Flashback Express 6 FAQs
Camigo
User Manual
Getting Started
Camigo System Requirements
Downloading and installing
Setting up Camigo
Checking for Updates
Camigo Settings
Using Camigo
Customizing your video
Licensing
Support
Camigo Quick Start Guide
Camigo FAQs
Video Converter
User Manual
Getting Setup
Video Converter System Requirements
Downloading and installing Video Converter
Preferences
Free Trial
Using Video Converter
Converting Format
Format settings
Turbo Conversion
Creating Clips
Cropping a video
Applying Effects
Adding Watermarks
Changing Speed
Inserting Subtitles
Licensing Video Converter
Video Converter Quick Start Guide
Video Converter FAQs
Table of Contents
- All Categories
- Flashback Express 6
- Flashback Express 6 Quick Start Guide
Flashback Express 6 Quick Start Guide
Updated
by Gareth Casey
Downloading and Installing
- Download Flashback Express from our download page.
- When Flashback Express has finished downloading, double click the downloaded file to install.
- Click Yes when the User Account Control popup appears.
- Select the langauge you want Flashback Express to be displayed in and click OK
- To install to the default location, click the Install button on the window that appears.
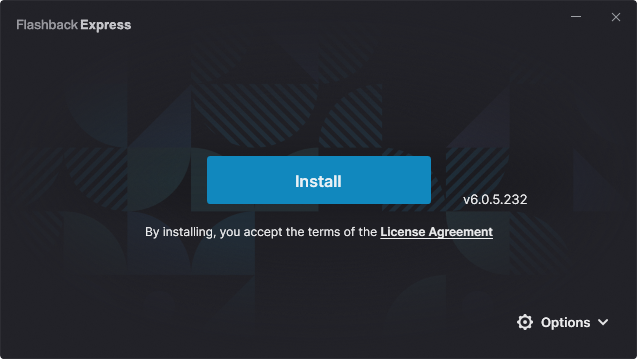
To choose a new location to install to, click Options in the bottom right corner of the window and then click the Change button next to where the installation folder is displayed. Then choose a new folder to install to.
Getting ready to record
- Make sure the Screen option is enabled on the Recorder window and then click the arrow next to it to choose whether you record the Fullscreen (or screens if you have multiple screens connected), a custom Region or a specific Window.
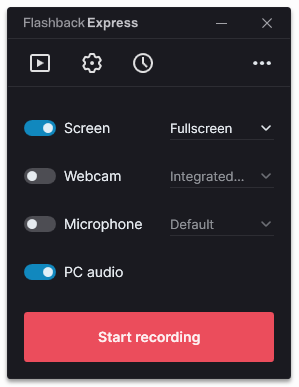
If you choose Region, a resizable dashed frame will appear which you can use to mark the region you want to record (a drop down menu in the top left corner of the window contains a selection of popular resolutions that you may want to choose from) or if you choose Window, you will be prompted to click on the window that you want to record. - If you have a requirement for the video to be recorded using a specific frame rate, click the
 button and then adjust the FPS setting on the Video & Audio tab as needed.
 - Enable the PC audio option on the Recorder window to capture the sounds that you hear and/or enable the Microphone option on the Recorder window to capture what you are saying while recording.
The PC audio will be captured from the currently selected Output device in your Windows Sound settings but you can choose where the Microphone audio is captured from by clicking the arrow next to the Microphone option to see a list of possible microphone sources to capture from. Click the one you want to use.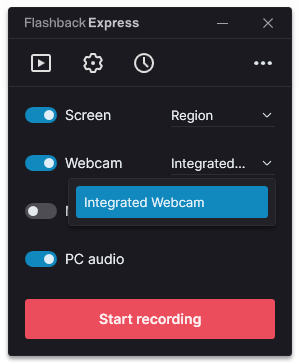
- Enable the Webcam option if you also want to record video from your webcam. The webcam video will be added on top of the screen recording as a picture-in-picture. If you have more than one webcam device available, select which one to record from using the drop down menu next to the Webcam option.
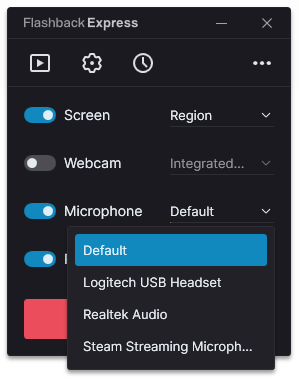
Resize the webcam by moving the mouse cursor over the preview window and then clicking the small, medium or large icons that appear. Then reposition the preview image on the screen to where you would like it to appear in your recorded video.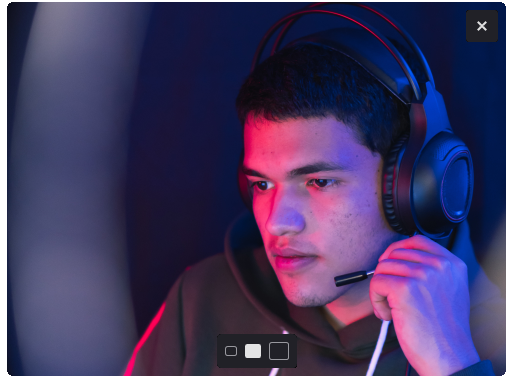
Making a recording
- Click the Start Recording button or press Ctrl + F12 to begin a recording session.
Each recording session will begin with a 3,2,1 countdown and recording will then start.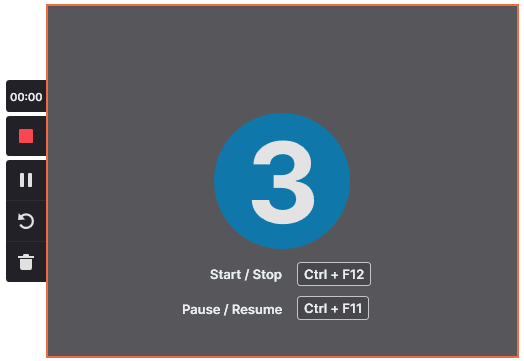
While recording, the dashed frame will change to a solid red frame and a control bar will appear on the outside of the frame, unless doing a fullscreen recording, in which case it will be minimized to the taskbar. - Click the
 button on the control bar or by press Ctrl + 12 to end and save the recording session.
When making a fullscreen recording or a webcam-only recording, the control bar will start off minimized to the taskbar. Click on the FlashBack icon on the taskbar to make the top section of the control bar appear on the left side of the screen. Then click the button.
 - The recording session will automatically be saved when a recording session is stopped. Click the popup that appears in the bottom corner of the screen open the saved video. You will then be returned to the Recorder Window.

